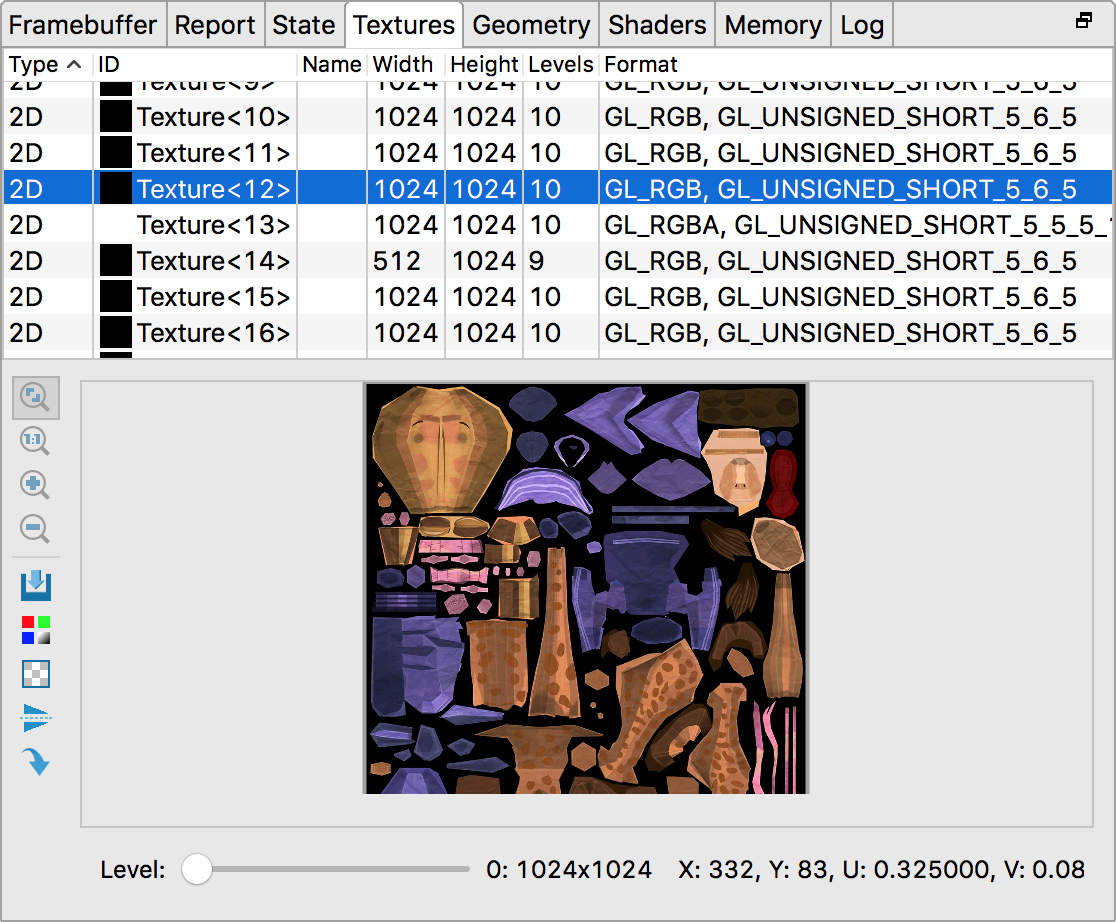
The textures pane displays all the texture resources created up to and including the selected command.
If the texture has a mip-map chain, then you can change the displayed mip-map level with the slider at the bottom. By default level 0 (the highest resolution) level will be displayed.
Placing your mouse cursor over the texture will display a zoomed in preview of the surrounding pixels in the bottom-left hand corner of the view.
To the left of the texture view is a toolbar with the following buttons:
| Button | Description |
|---|---|

|
Click the button to adjust the graphic to fit completely within the Textures pane.
Right-clicking the image is another way to Zoom to Fit. |

|
Click the button to show the image at no scale, where one device pixel is equivalent to one screen pixel. |

|
Click the button to zoom in. You can also use your mouse wheel, or two-finger swipes on a touchpad, to scroll in and out. You can drag the image with your cursor. |

|
Click the button to zoom out. You can also use your mouse wheel, or two-finger swipes on a touchpad, to scroll in and out. |

|
Click the button and then select the color channels to render or deselect color channels so they aren't rendered. The options are Red, Green, Blue, and Alpha (transparency). |

|
Select the button to display a checkerboard background or solid color. |

|
Flips the texture vertically. |

|
Select this button to view a list of all calls that updated the texture to this point. Select a call to view the texture after the call completes. The selected frame thumbnail and the Commands pane update accordingly. |